
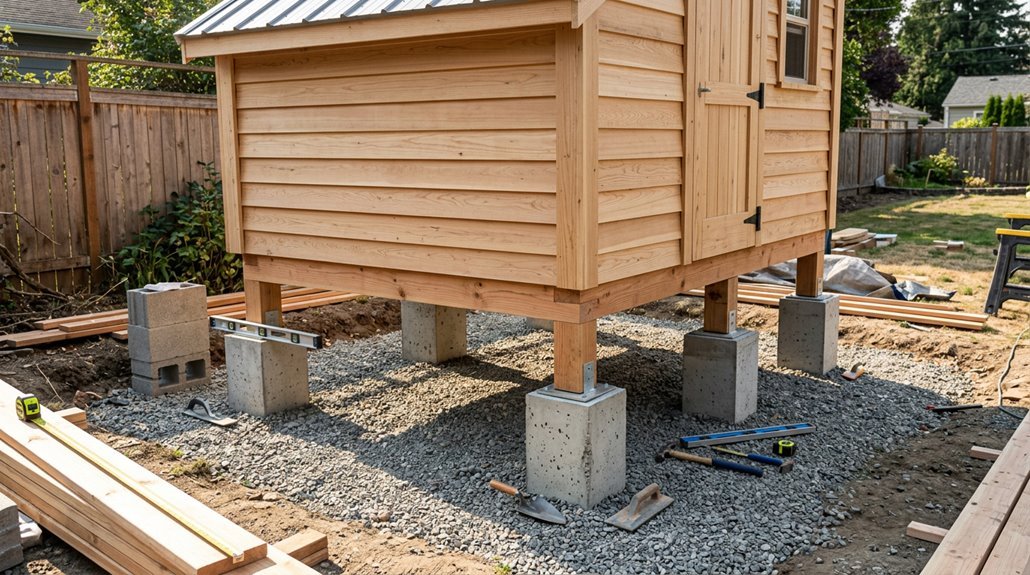
I lifted my shed to stop rot and flooding, and this approach worked effectively.
First, I assessed my shed’s condition. Stuck doors indicated foundation problems.
Then I cleared the area and leveled the ground.
Next, I determined my target height at six inches minimum, dug corner holes, and set pressure-treated posts in concrete.
Finally, I built a level foundation with gravel and beams, checking alignment constantly.
The detailed breakdown of each step follows below.
Assess Your Shed’s Current Condition and Elevation Needs
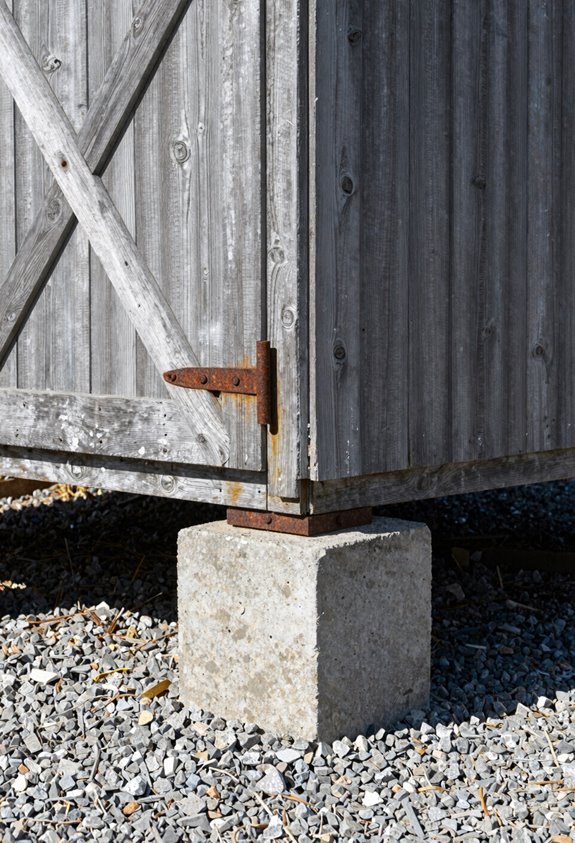
Why Your Shed Is Sitting Crooked
A tilting shed indicates foundation problems that need assessment before any lifting work begins.
Check for Warning Signs
Look for doors and windows that won’t close properly. This is your first indicator of structural issues. Search for visible gaps between the structure and ground, which show that uneven ground is creating separation.
Inspect Your Shed Foundation
Examine your existing foundation type to understand what you’re working with. Check for water damage and rot in the base and posts. Lifting won’t resolve decay that’s already occurring underneath.
Measure and Plan
Measure your shed’s dimensions and establish your target elevation. Aim for at least six inches off the ground for proper drainage.
Prepare Your Location and Clear the Area
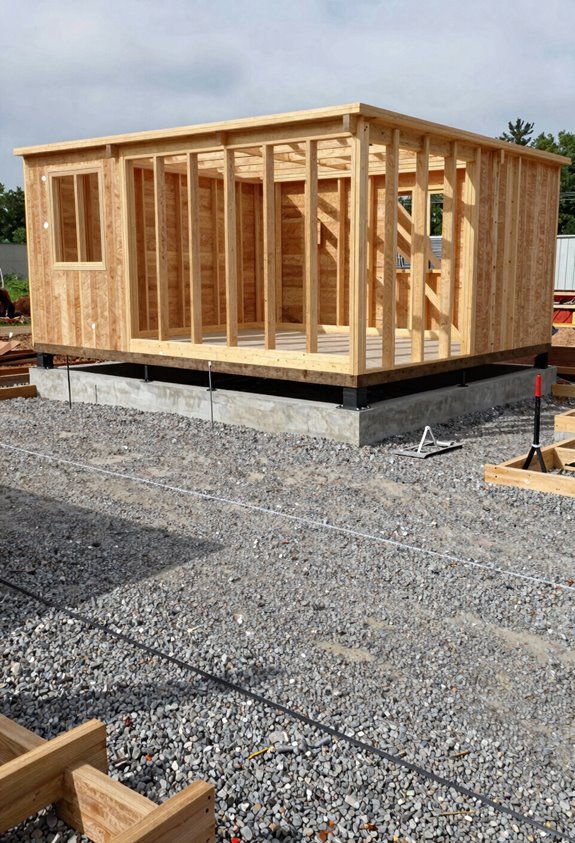
How many times have I started a project only to trip over a rake I’d forgotten about? I now clear my area first because it’s essential.
Remove Everything
I haul away tools, debris, and overgrown vegetation to create a clutter-free workspace. This gives me safe access to all corners and prevents accidents during lifting.
Level Your Ground
Uneven spots need immediate attention. A level ground prevents my shed from shifting during elevation, which is critical for stability.
Ensure Proper Drainage
I clear damp zones around my shed foundation to prevent moisture damage and rot. Good drainage clearance keeps everything dry and protected.
Create a Clean Footprint
I prepare a dirt-free area where posts and concrete bases will sit evenly. This ensures my foundation stays accurate and solid throughout the entire project.
Determine the Right Elevation Height for Your Shed
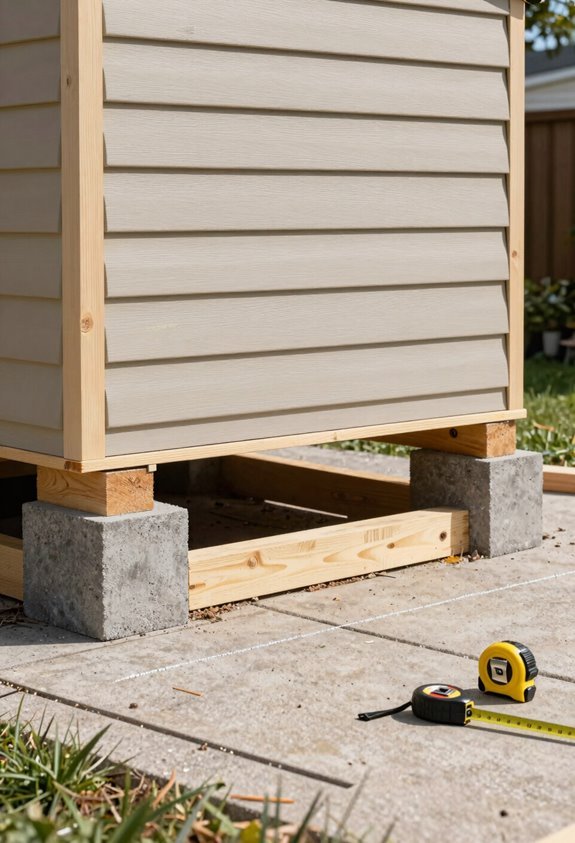
Just when I thought I’d nailed the preparation part, I realized I hadn’t thought through how high to actually lift my shed. This decision requires careful consideration of several factors.
Elevation height isn’t one-size-fits-all. Here’s what matters:
- Minimum clearance: I aimed for at least 6 inches off the ground for moisture prevention and airflow
- Local conditions: My flood-prone area required checking weather patterns and consulting local guidance for site-specific requirements
- Shed specifications: Heavier sheds needed stronger foundation and beams to handle the weight safely
- Structural stability: I verified that my posts could accommodate the chosen height without compromising support
To raise a shed properly, you need to balance your area’s flood risk with your shed’s actual weight and size. Selecting the appropriate elevation height directly extends the lifespan of your investment and prevents water damage, structural deterioration, and pest intrusion.
Dig Holes and Set Shed Support Posts
Digging holes straight and deep requires more patience than expected.
Getting the Holes Right
I dug holes at each shed base corner, making sure they were evenly spaced and perfectly aligned. The depth depended on my elevation height and post length. Deeper holes meant better stability, especially on softer soil.
Setting the Posts
I placed pressure-treated wooden support posts in each hole to resist rot and pests. Using a level, I checked that each post stood perfectly vertical, centering them carefully. This alignment affected the shed’s lift later.
Securing with Concrete
I poured concrete around the post bases and waited about 1–2 days for it to set completely. The concrete curing time ensures a stable, level shed base.
Build a Level Foundation With Gravel and Beams
With my posts set in concrete and curing, I was ready for the part that actually lifts the shed: building the foundation that’ll keep everything stable and level.
First, I tackled the gravel base around my post perimeter. This step is crucial because it aids drainage and keeps everything from settling unevenly. Then came the real work:
- Placed horizontal beams on top of my pressure-treated posts, checking constantly with my spirit level
- Spaced joists evenly to distribute weight across the foundation properly
- Used shims under beams wherever I found dips (and there were plenty)
- Waited for concrete to cure fully, about 1-2 days before adding weight
Getting everything perfectly level required patience, but that solid, level foundation eliminated every frustration in the process.